Since we all know that WhatsApp is one of the most popular instant messaging applications for mobile phones, a big game changer would be to use it on the PC when we work or just chilling, so we can read and send messages directly from the PC without using the phone.
The first step is to download the WhatsApp app for Windows 11. We can do this by searching for WhatsApp in the Microsoft Store or by clicking on the small button below, which will take us directly to the download page.
![]()
After pressing the button, we must click the “Get it from Microsoft” button on the Windows operating system side, which will redirect us to a pop-up window where we will press “Open Microsoft Store“; finally, we will find the “Get” button, and the installation will begin.
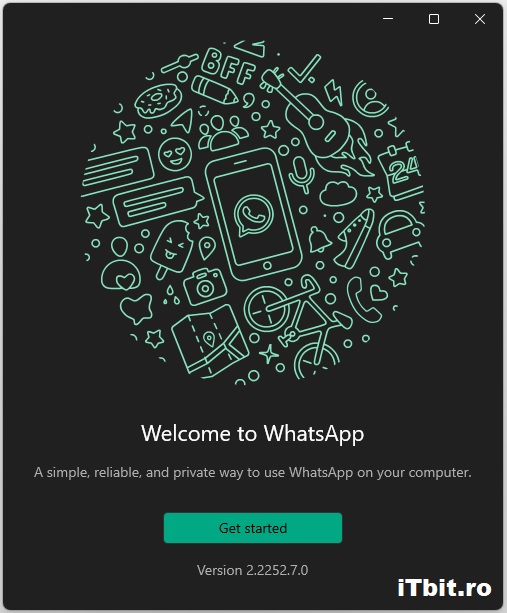
We will find the installed app by pressing the “Start” button from the lower left side of the screen in the pinned apps section, and after starting the WhatsApp app, the following windows will appear; press the “Get Started” button.
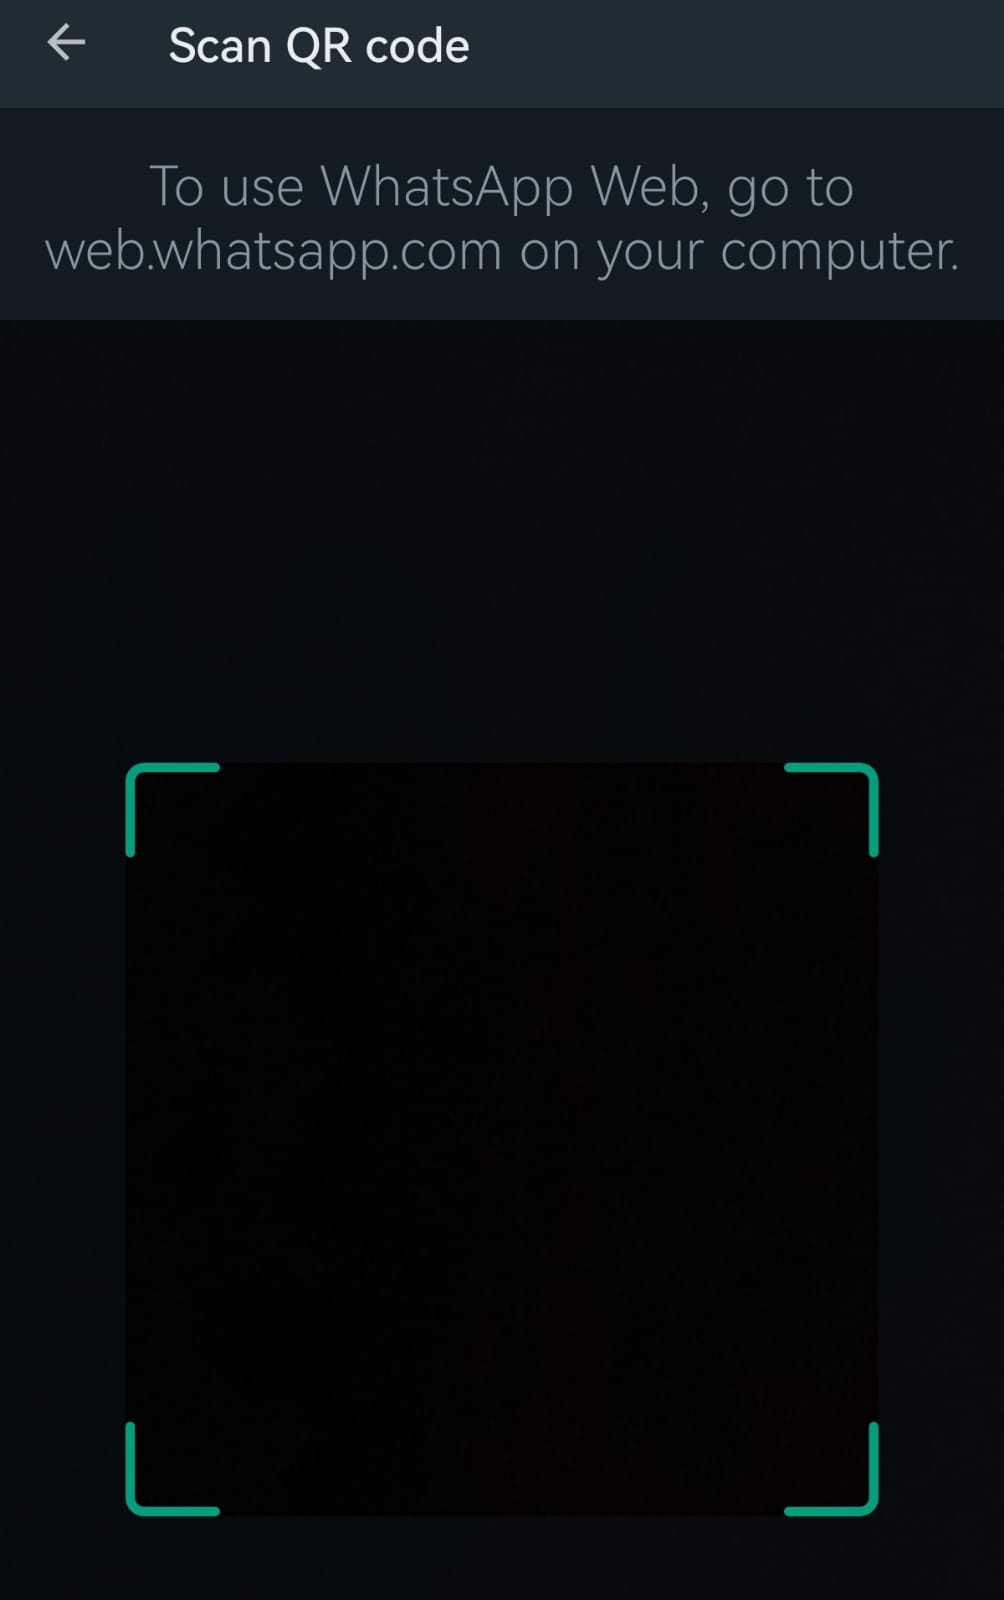
By pressing the “Get Started” button, we will get a QR code, which we will need to scan with the scanning tool from WhatsApp so we can connect on the PC.
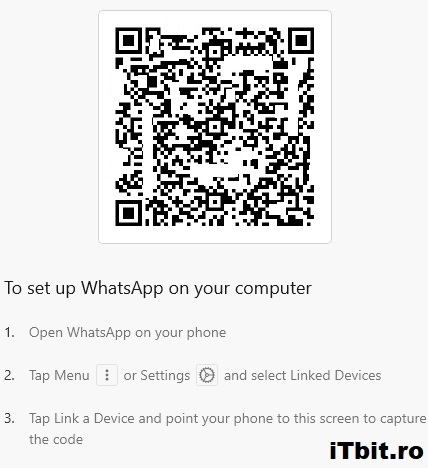
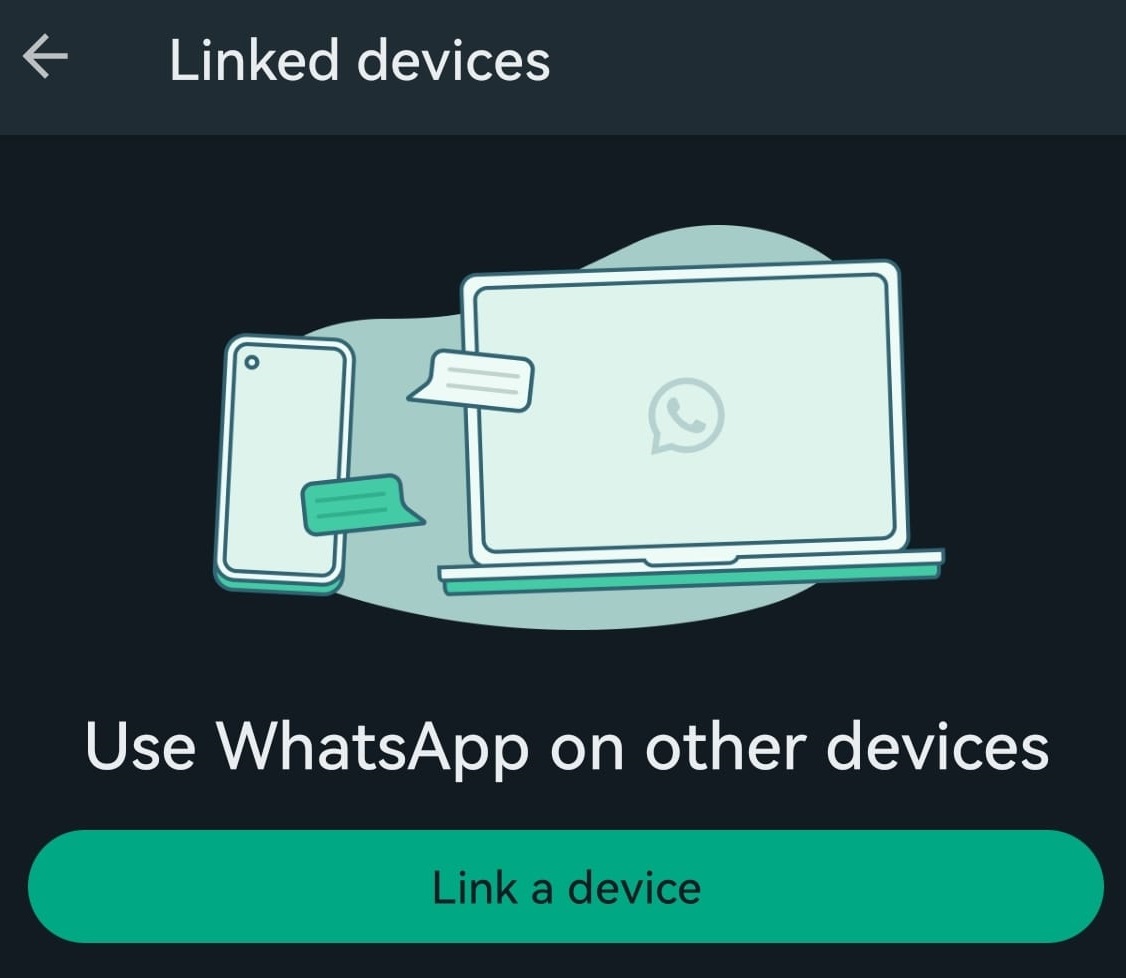
We can find the scanning tool by pressing the three-dot button on the upper-right side of the phone’s screen and pressing the “Linked Devices” button.

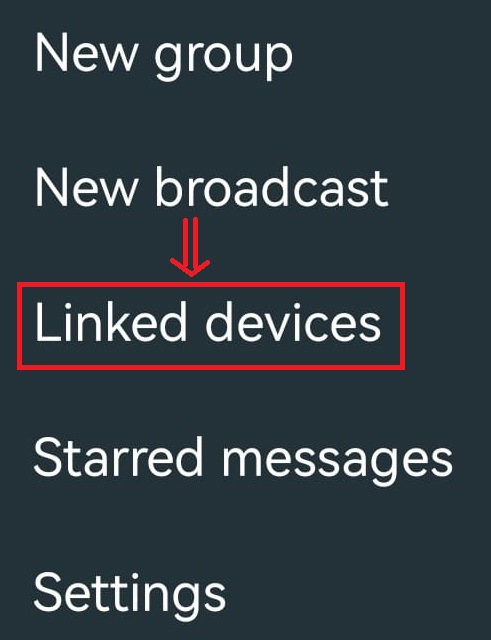
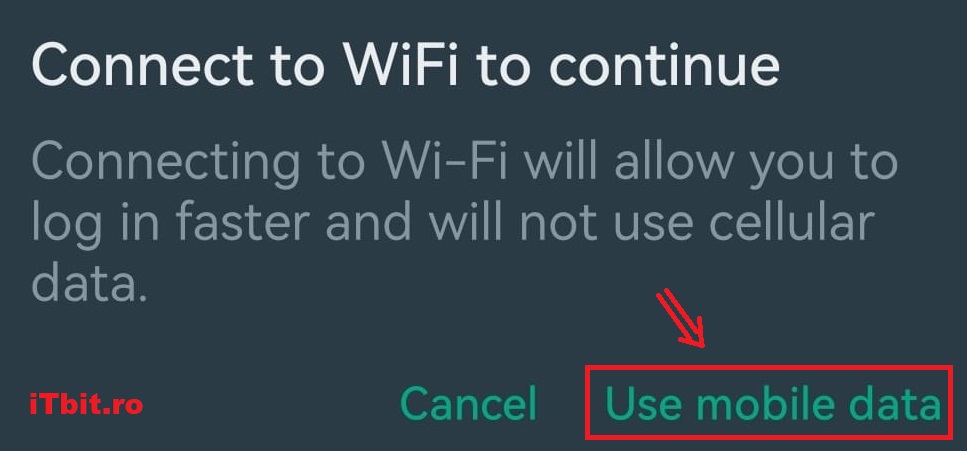
After pressing the “Linked devices” button, we will be taken to the add devices page, where we must select “Link a device“. If we do not have a wi-fi connection, the phone will ask us if we want to use mobile data, in which case we will select “Use mobile data“, and we will be able to scan the QR code from the PC and login to the WhatsApp PC app.